Ruby on Rails development setup for macOS 💎
After a number of years tweaking and experimenting, what follows is how I setup a Ruby development environment on macOS.
If you’re a new developer, or just new to Ruby this should help you get started quickly until you find what feels right to you.
This article assumes a clean install of macOS.
Install Homebrew
If you’ve not used Homebrew before you’re going to love it. The self proclaimed missing package manager for macOS allows you to easily install everything we need. Installation is simple, open Terminal (Applications » Utilities » Terminal) and copy this command:
/usr/bin/ruby -e "$(curl -fsSL https://raw.githubusercontent.com/Homebrew/install/master/install)"
This may take some time to complete depending on your internet connection speed. Just follow the prompts until it finishes. After which you can verify you are ready to go by running this command:
brew doctor
If there are any problems the brew doctor will give you details about any issues and sometimes even how to fix it. If not, you’re probably not the only one so look it up in Google.
Install Ruby
macOS comes with a version of Ruby installed but we don’t want to mess with the system version so we’re going to use [asdf](https://github.com/asdf-vm/asdf) (not a typo), an extendable version manager with support for multiple languages. asdf will allow us to install and switch between multiple Ruby versions. You may not need multiple versions right now but as you work on more applications you don’t want to be uninstalling and installing Ruby versions each time to change project.
Lets get brewing! We can install asdf using Homebrew, once done if you are using bash for your shell (by default macOS does) we add a couples of lines to our ~/.bash_profile so we can use asdf.
brew install asdf
echo -e '\n. $HOME/.asdf/asdf.sh' >> ~/.bash_profile
echo -e '\n. $HOME/.asdf/completions/asdf.bash' >> ~/.bash_profile
Now close your terminal and open it again, this will reload the session to ensure asdf has been loaded.
Next, we need to install the Ruby plugin for asdf to do this run the following command in your terminal:
asdf plugin-add ruby
Now we can ask asdf to show us all the Ruby versions it can install by running asdf list-all ruby, you can find the latest version of Ruby by visiting the Ruby website. Let’s install Ruby version 2.5.3 for the purposes of this article.
asdf install ruby 2.5.3
asdf allows you to set global and per project Ruby versions. This means your Ruby version can automatically change to the one required for you project (if it’s installed) when you cd into the project directory so you don’t need to remember to change the version yourself, very handy!
With our new Ruby version installed, now let’s set it as the global version so we can make use of it in our terminal.
asdf global ruby 2.5.3
You can checkout more commands available with asdf --help or if you prefer in the asdf readme on Github.
Update RubyGems and Bundler
Bundler manages an application’s dependencies, kind of like a grocery list of other libraries an application depends on to work, Ruby calls these Gems. If you’re just starting out with Ruby on Rails you will soon see just how important and helpful this gem is. Run the following commands to make sure the gem system is up to date and to install the latest version of Bundler:
gem update --system gem install bundler
Skip automatic documentation generation
Skipping the automatic documentation generation you can save a good amount of time when running bundle install. Run the following command to add the setting to skip generating documentation for all gems you install:
echo "gem: --no-document" >> ~/.gemrc
That’s all, as you’ll see from asdf list-all ruby there are loads of Ruby versions available such as JRuby, a version of Ruby that runs on the JVM.
It’s important to note gems are not shared between versions of Ruby you install. You will need to install the gems you want for each version of Ruby. The Ruby asdf plugin can however automatically install a set of default gems you define.
Install Ruby on Rails
Rails can be installed as a global Ruby Gem:
gem install rails
Quick Note: Rails uses SQLite as it’s default database choice, SQLite is a lightweight SQL database and you will find macOS already provides an (older, run sqlite3 --version to find out which version) version. If you require a later version or a version including special features you can use Homebrew to help install it and add it to your PATH.
Rails has quite a number of other gem dependencies so don’t be surprised if you see a lot of gems being installed.
Your first Rails project
Ready to put all this to good use and start your first project? Good, we’re going to create a new project called hello_world.
rails new hello_world cd hello_world
Now we’re going to set the local Ruby version for this project to make sure this stays consistent, even if we change our global version later on.
asdf local ruby 2.5.3
This command will write the Ruby version specified to a file named .tool-versions in the current directory. This file will automatically change the Ruby (and other tools managed by asdf ) version used within this directory.
If the specified version of Ruby is not already installed, run asdf install and asdf will take care of installing the version specified.
Now let’s test our application is working:
bin/rails server
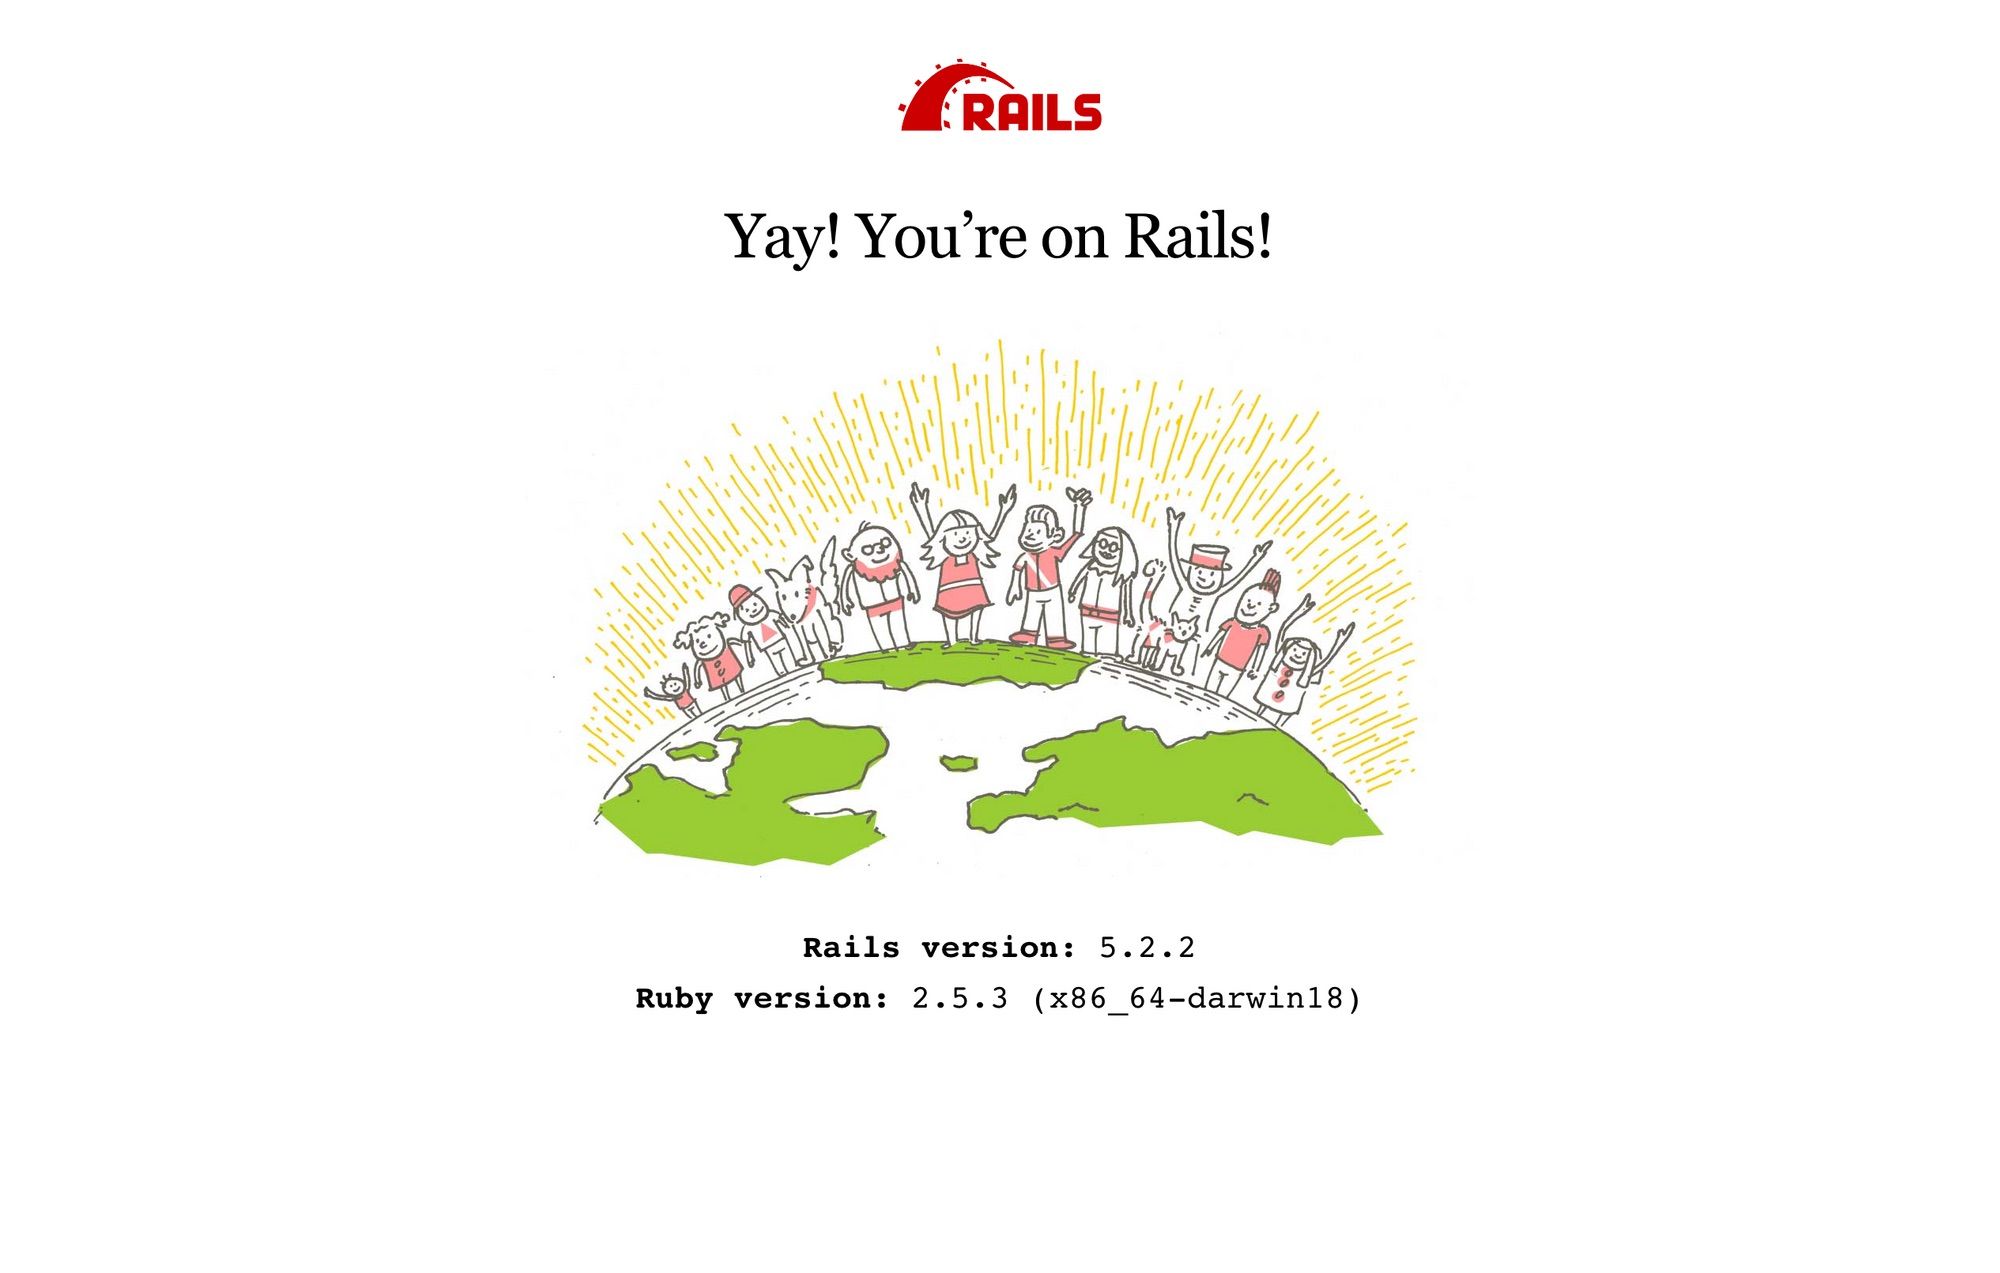
Open http://localhost:3000 in your browser and you should see the following:
control(⌃) + c to stop the Rails serverIf you’ve previously used another version manager such as rbenv or rvm, or if you have a project with a .ruby-version file, asdf also supports migrating from another Ruby version manager.
Use a PostgreSQL database
SQLite is useful to get us going but you are likely to want to use PostgreSQL sooner or later, particularly if you plan to deploy your application on Heroku. macOS already comes with PostgreSQL installed however, as with SQLite, it is an older version and reserved for system operations primarily so we don’t really want to mess about with it.
We can use Homebrew to install PostgreSQL, this will install the latest available version. If you need another version use brew search postgresql to see what’s available.
brew install postgresql
brew services start postgresql
The brew services command will make sure PostgreSQL starts running when we login to macOS. Run brew services to display a list of other options available.
To create a new Rails app with PostgreSQL as the database instead of the default SQLite use the -d flag when creating a new Rails application like so:
rails new hello_world -d postgresql
You can find more information about the other options available with rails new --help.
Upgrade Git
As with most of the packages on macOS the version of Git is a few versions behind, most of the time this is unlikely to cause you an issue unless you need the latest features. However, you can install the latest version of git with a little help from Homebrew:
brew install git
That’s all there is to it. Now go a build something incredible with Ruby on Rails. 🎉